Thursday, February 21, 2013

Adobe Illustrator Project: Analysis


ANALYSIS

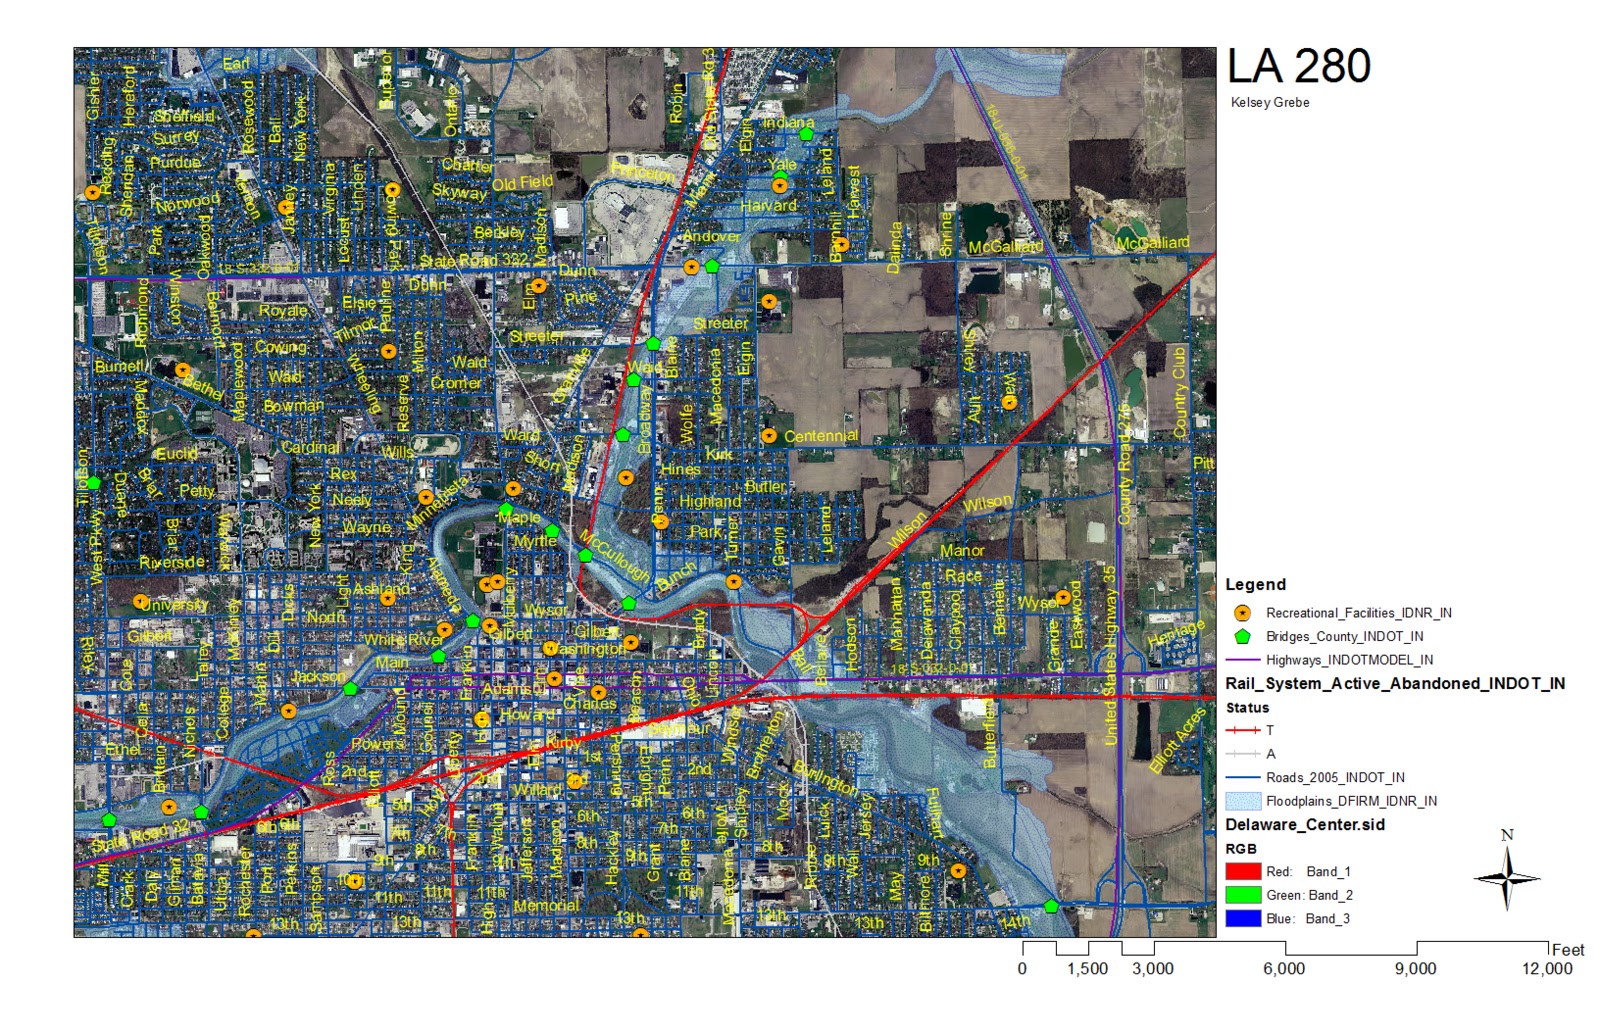
  • Site Outline: Specifies the site location for one to easily locate the site boundaries
  • Roads: Provide a use to show circulation around your site and if it is a high traffic area
  • Trees: This layer could show shade options on a persons site and could be used to decided where a person would want paths or where a person would not put a building if did not want to do tree removal
  • Buildings: Shows one where open spaces are or what is around the site you are wanting to create, if it is highly populated.
  • Contours: Shows the elevations and if your area is swampy or dry
  • Ortho Map: Show map location, prevailing winds (which direction the cold or warm winds are coming from) and the open area highlighted in orange.


Tuesday, February 12, 2013

GIS CONTOURS

At the end of this project, GIS would be easier to manage if my files were more organized making it easier to access and bring up my GIS data.

Monday, February 11, 2013

GIS (Unit 4)

  For This GIS Map I added soils layers by opening my extracted soils file into Microsoft Access, I then was able to open the map legend in Access into excel. In GIS the soils file was added and dragged under layers producing the image above. I was able to play around with what colors I wanted my soils layers to be. I found this to be a difficult task to add soils but was happy will the results. MySite is centered on the map and the layer above the soils. 

GIS (Unit 4)

This map shows the flood plain buffer of Muncie, Indiana in pink outline. Wetlands layer was added which showed wetlands locate mostly along the flood plain buffer and a few wetlands located in the NE corner of the map. Libraries, Museums, and Recreational Sites were downloaded and added onto my map. The School added to the map is Ball state University. MySite is highlighted in light pink which shows the trees (buffered) only within my site. Adding in new shape files seemed to be an easy task while figuring out how to produce the flood buffer was difficult. Labels were added to my project site and the roads.

Wednesday, February 6, 2013

GIS (mysites)

Process of Creating a Mysite, Muncie trees/tree buffers. Added in other sites and outlined with construction tools in create features. Different symbols were established for different places.

Tuesday, February 5, 2013

GIS

Beginning of GIS... Learning to set up a layout with legend. scale and north arrow. In this map I showed where the flood plains were located as well as the rail system status. The rail system status had to be separated to show both the T and A lines on the map. Highways, roads, recreational facilities and bridges were included in this map.

Perspective of Site Plan

Creating a Perspective in Adobe Photoshop
I learned how to blur people to make them look as though they are moving. The blur tool is also used to blur pictures of people's faces for their privacy. The trees and vegetation are images taken into photoshop and edited/cut out to be used in this perspective. Later I noticed that the rocks near the pathway are considered tripping hazards even though they look visually appealing in the photo as well as some of the vegetation needs to be pulled back away from the paths. The pathway could be left white to make it more defined and easy to read. 

Site Plan (Bracken & Frog Baby Area)

This site was located near bracken library and frog baby. For this plan I decided to add in a new path, create an open concrete area and add benches throughout. Two fountains were created and a different tree layout. A grass texture was placed down were grass would be and concrete were it would be concrete.